
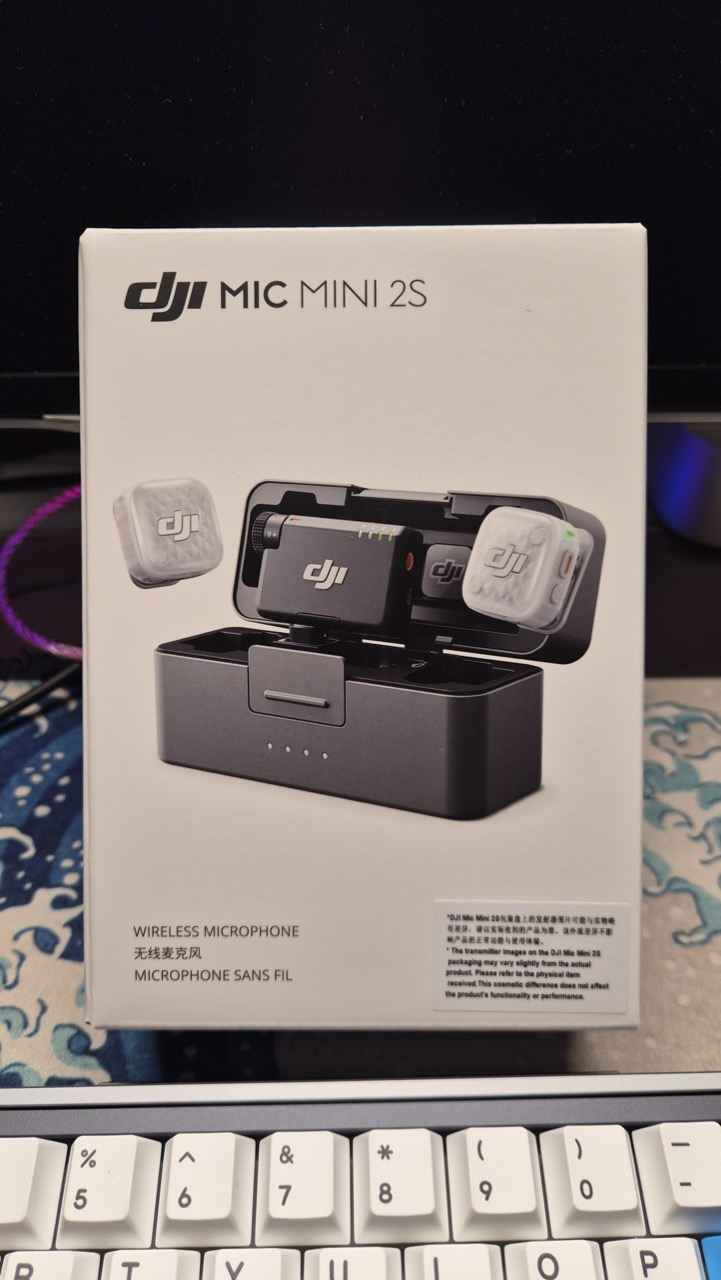
Hello! Today, we are sharing an honest unboxing review of DJI's newly released DJI Mic Mini 2S, received just 3 days after its official domestic launch in Korea. From the perspective of a 1st Gen Mic Mini user, we will walk you through case size comparisons, TX/RX dimensions, magnetic strength tests, 4-channel pairing tips, and handy storage tricks along with a full photo gallery!
Received 3 Days After Launch & Local Buying Hack
I placed an order as soon as DJI announced the new release! Though shipping was slightly delayed, I finally received it on day 3 after launch. It was definitely worth the wait.
Local Buying Hack (For Readers in South Korea)
If you reside in South Korea, you can use Digital Onnuri Gift Certificates at Genius Mall. Typically, Onnuri gift certificates provide an instant 7% discount. Since I recharged my balance during a previous 10% promotional period, I scored this latest microphone at an effective 10% discount! For residents in Korea considering new tech, I highly recommend using this Onnuri payment combination. Purchase options for both global and local buyers are listed at the bottom of this article.
Exciting Unboxing Gallery (Full Unboxing Flow)
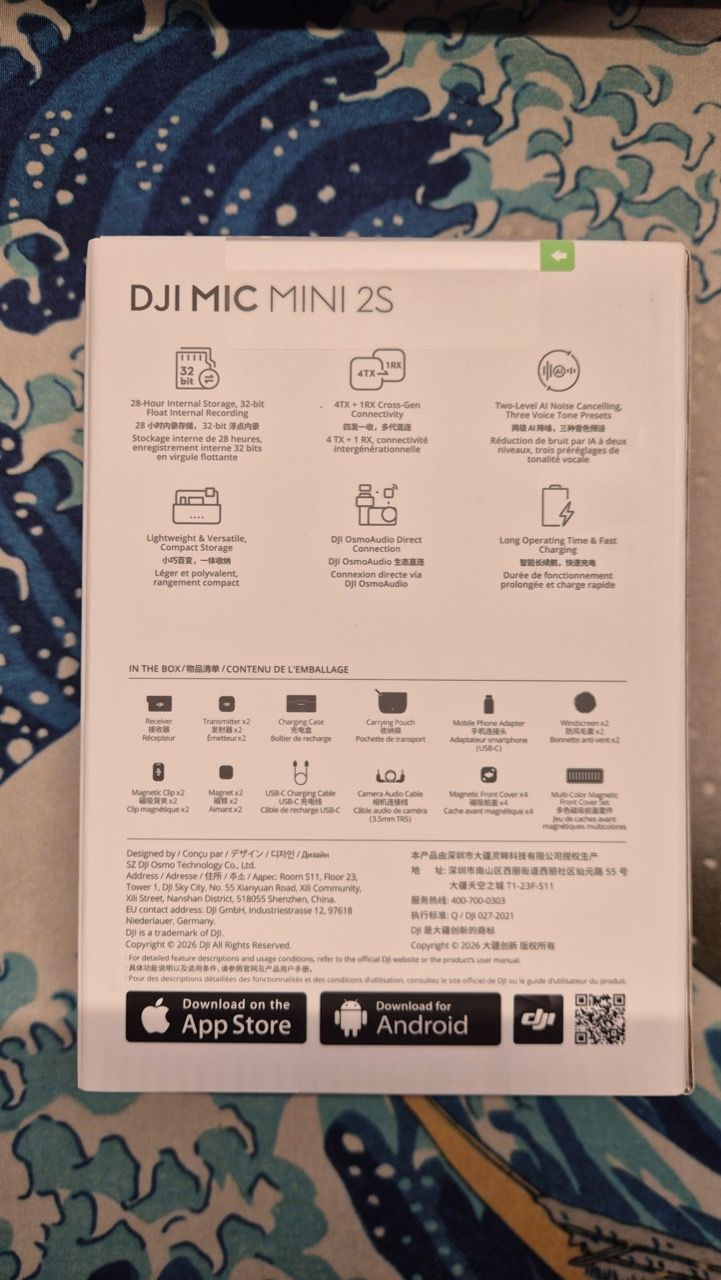
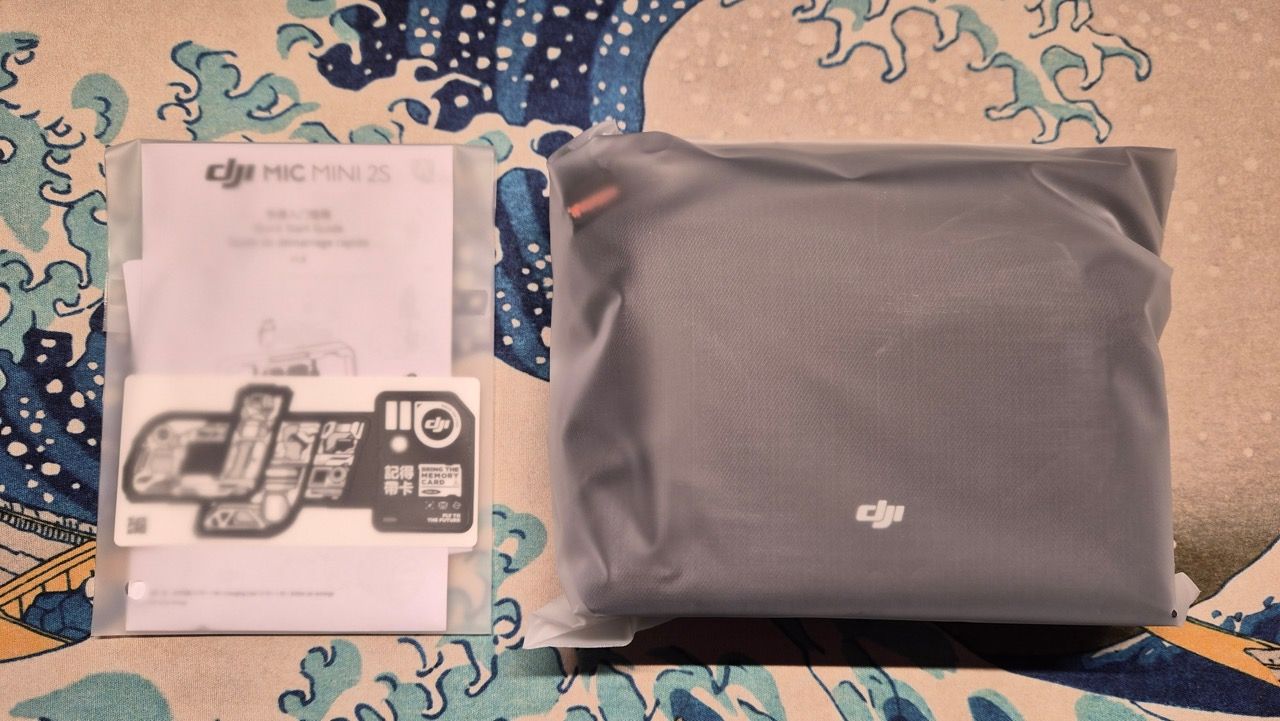
Packaging Box & Unsealing
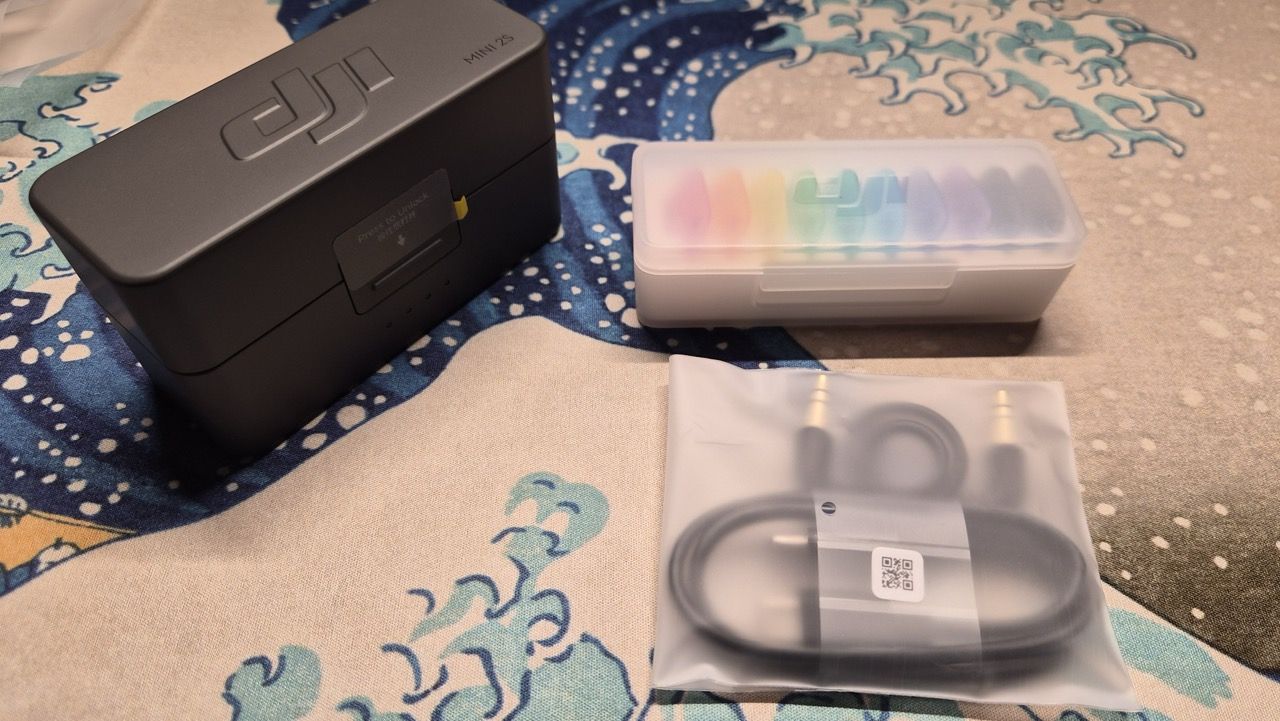
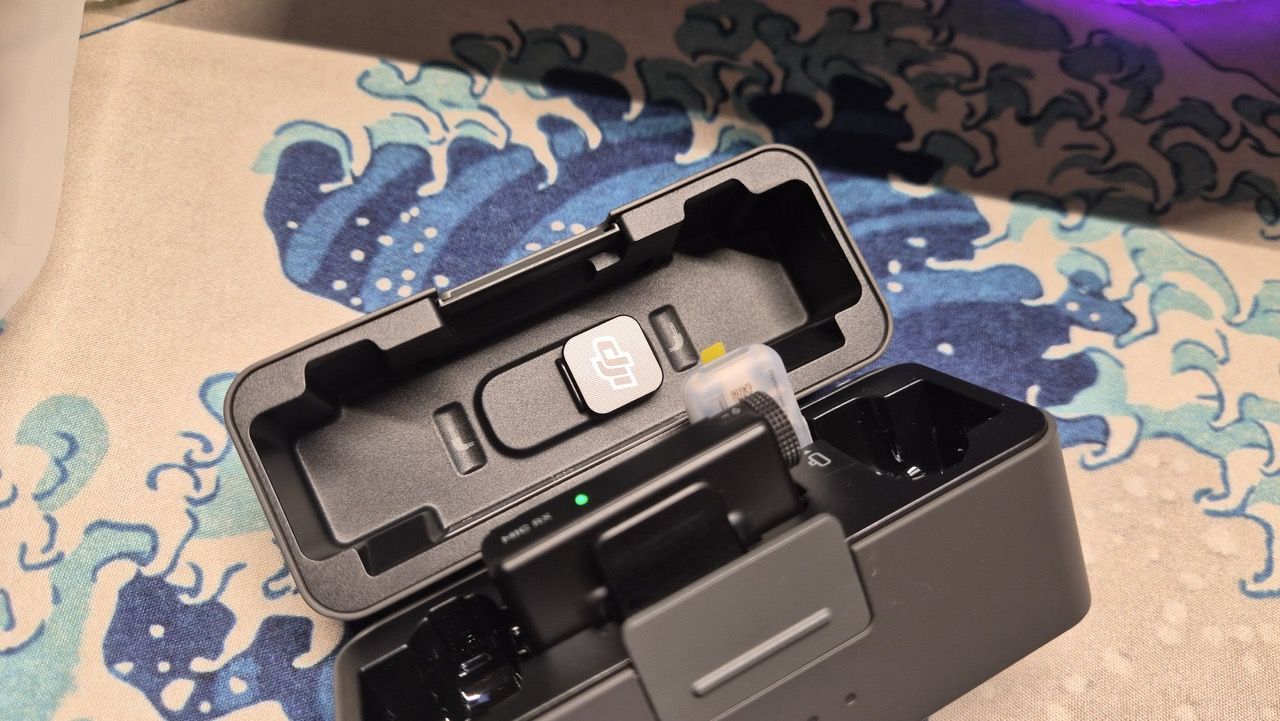
Hard Combo Case & Open Impression
Real-Life Detail Comparison: 1st Gen Mic Mini vs. Mic 2
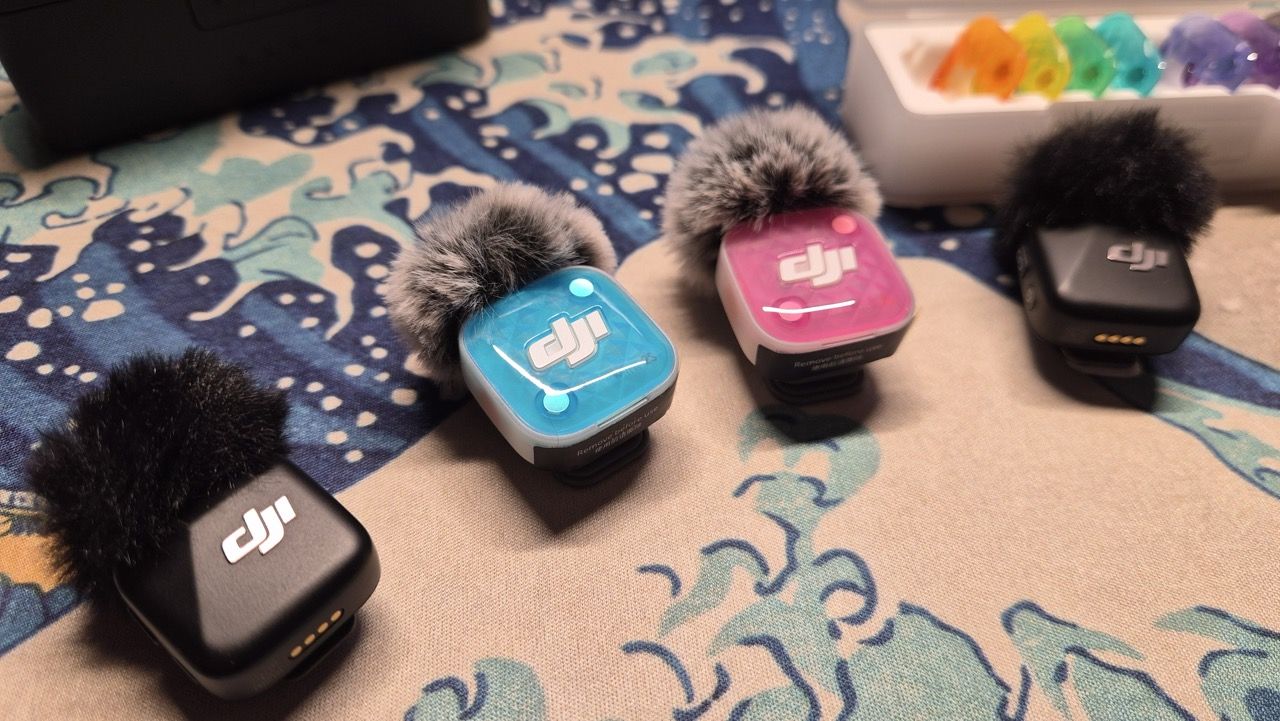
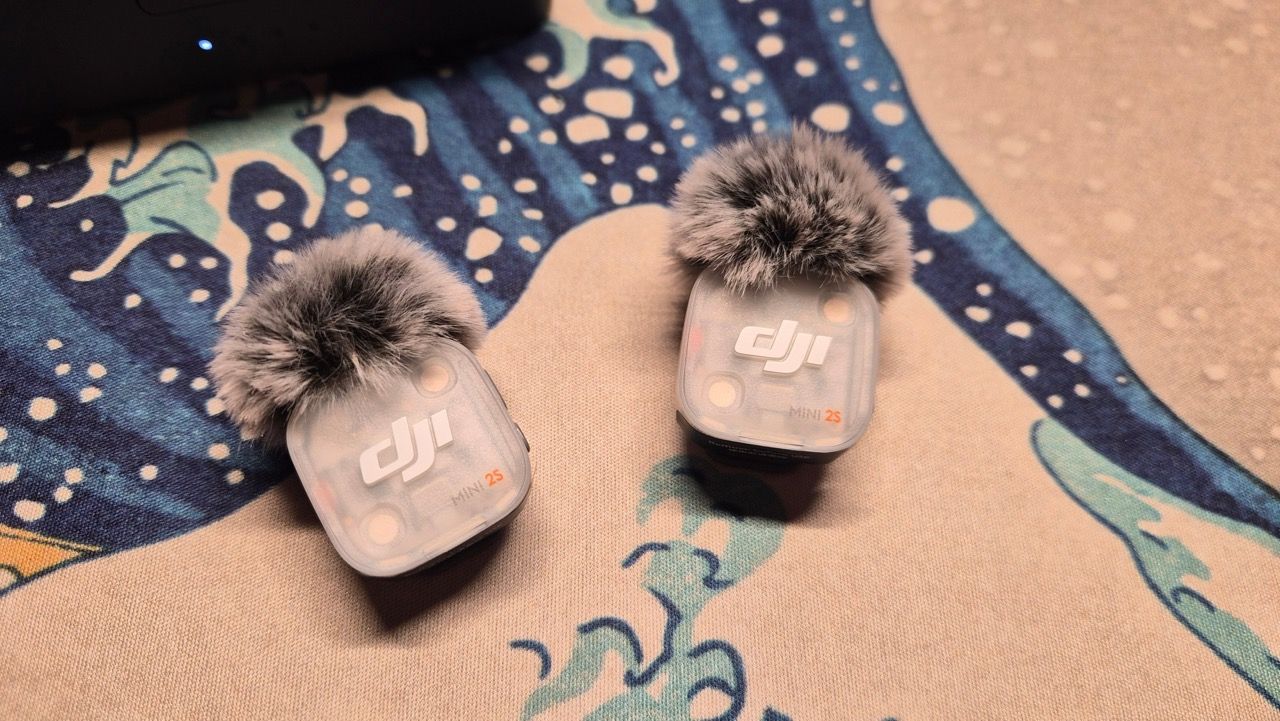
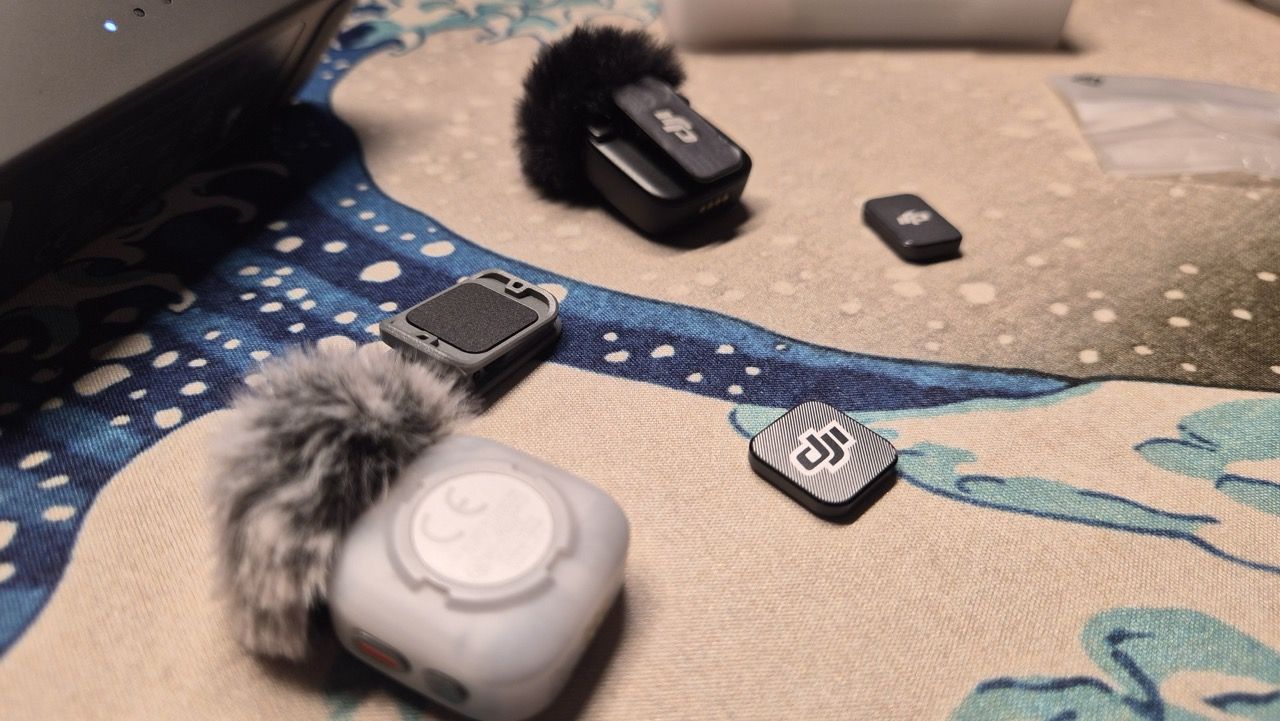
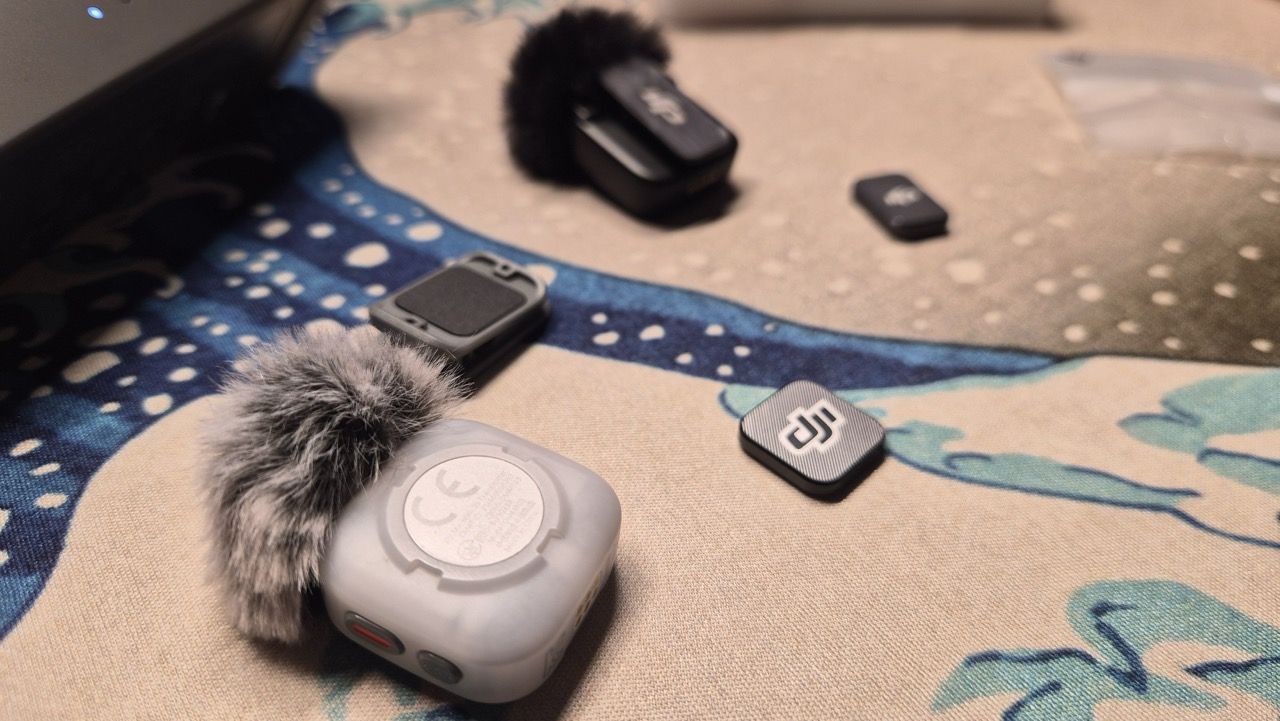
For reference, the Mic 2 model also supports front cover replacement. Comparing Mic 2 with 2S, there are differences in overall size and logo plate design (whether the logo is exposed). Mic 2 covers more of the brand logo, so if you prefer subtle branding, you might like the Mic 2 cover style even more.
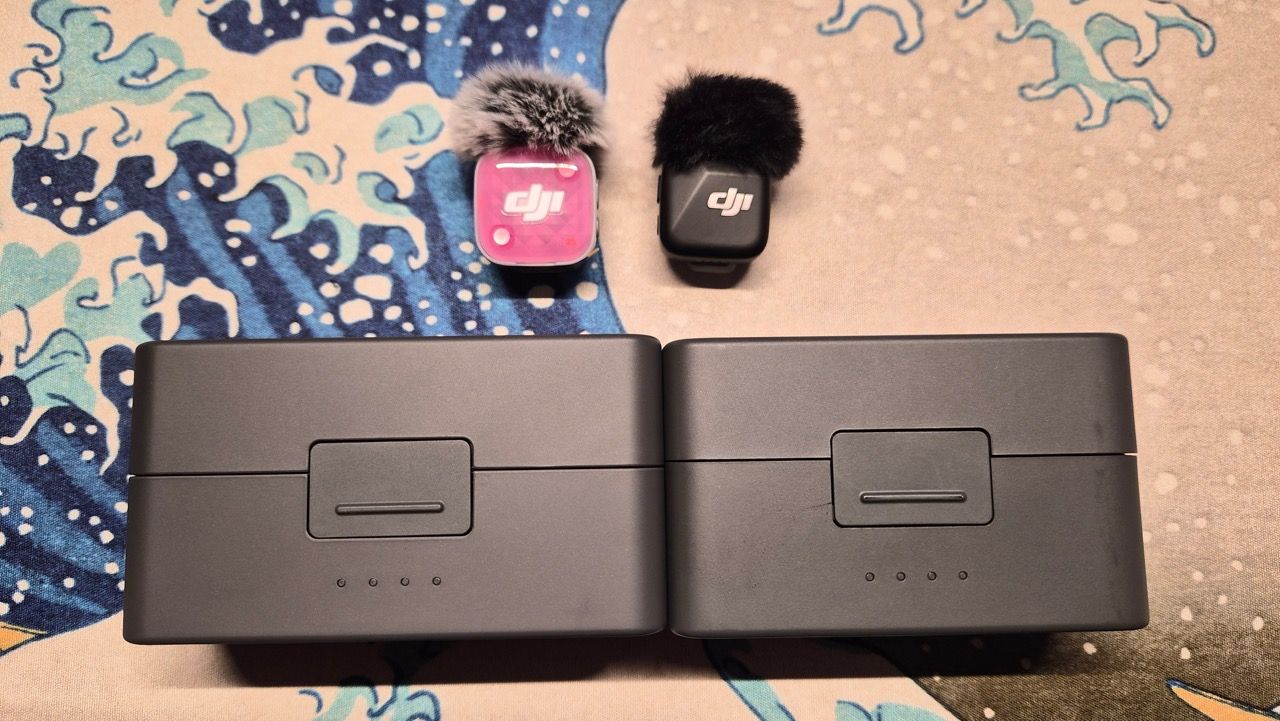
Innovation in 4-Channel Receiver (RX) & LED Indicators
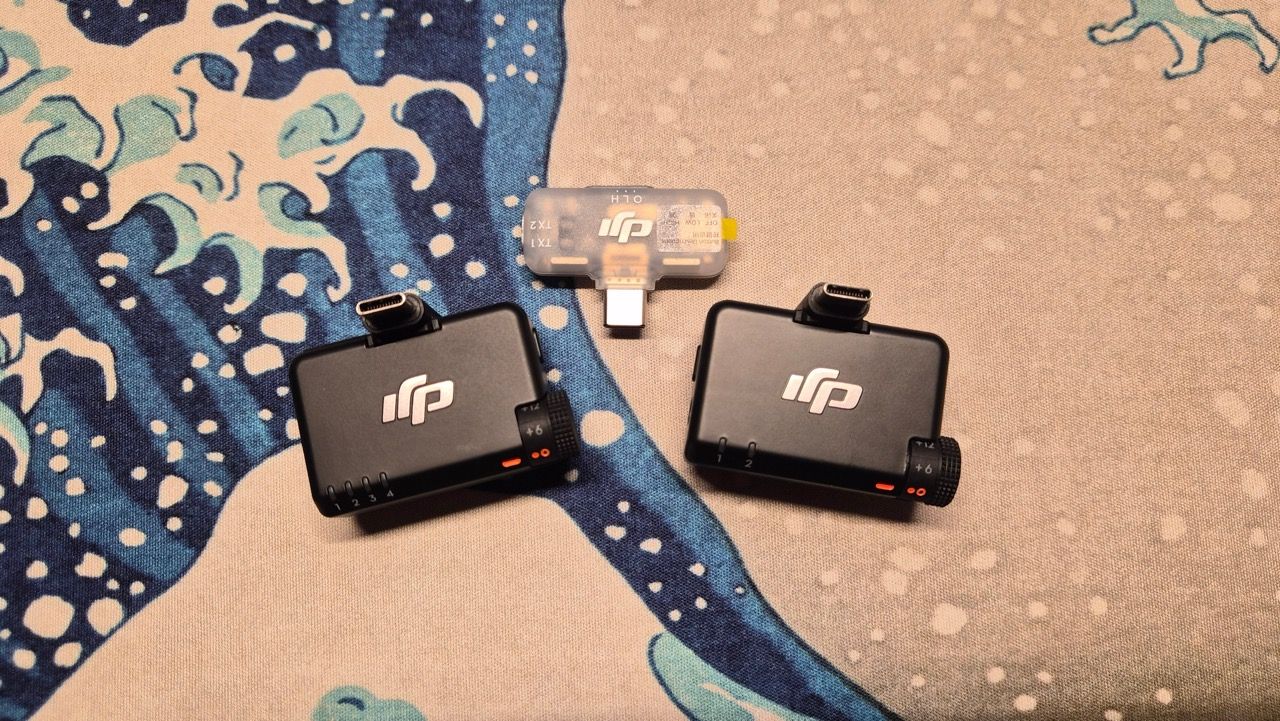
Going beyond traditional 2-channel receiving environments to receiving 4 transmitters at once is a major advantage for group talk shows, family vlogs, and interview setups. You can check the connection status of each mic at a glance with 4 LEDs, eliminating recording mistakes.
Essential Case Storage Tips & Precautions (Must Read!)
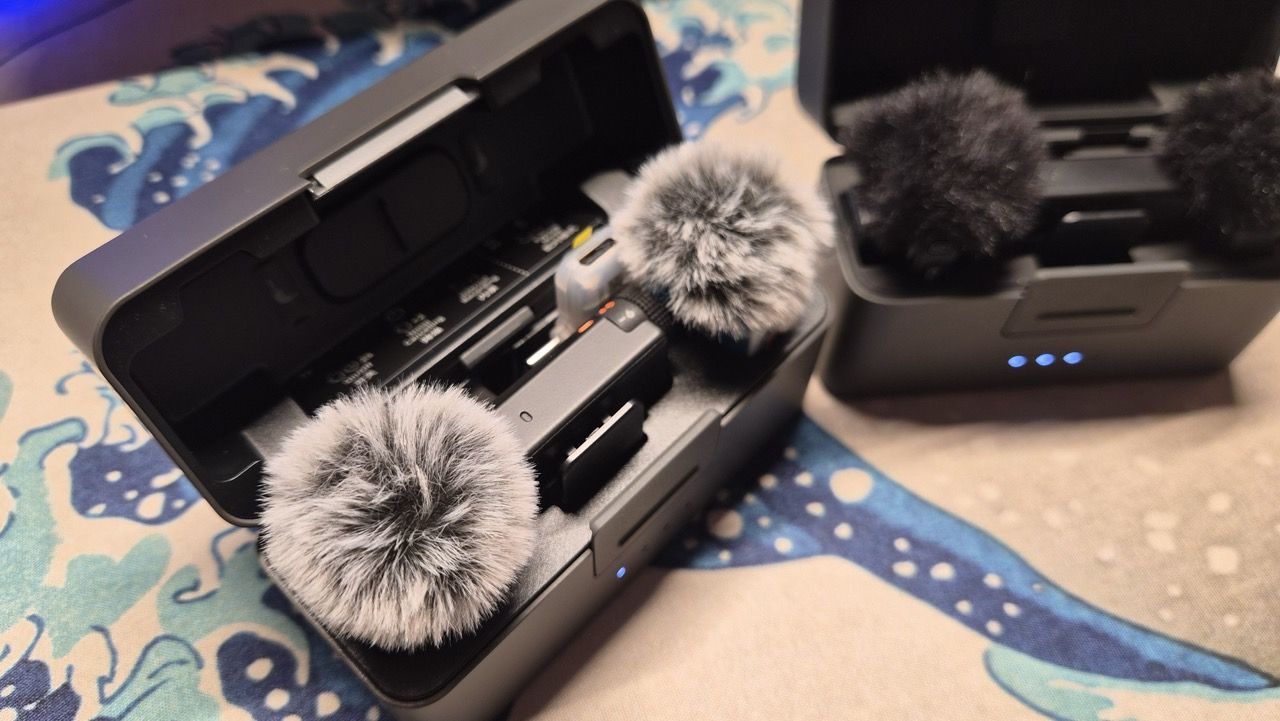
Practical 4-Channel Mic Pairing (Sync) Guide
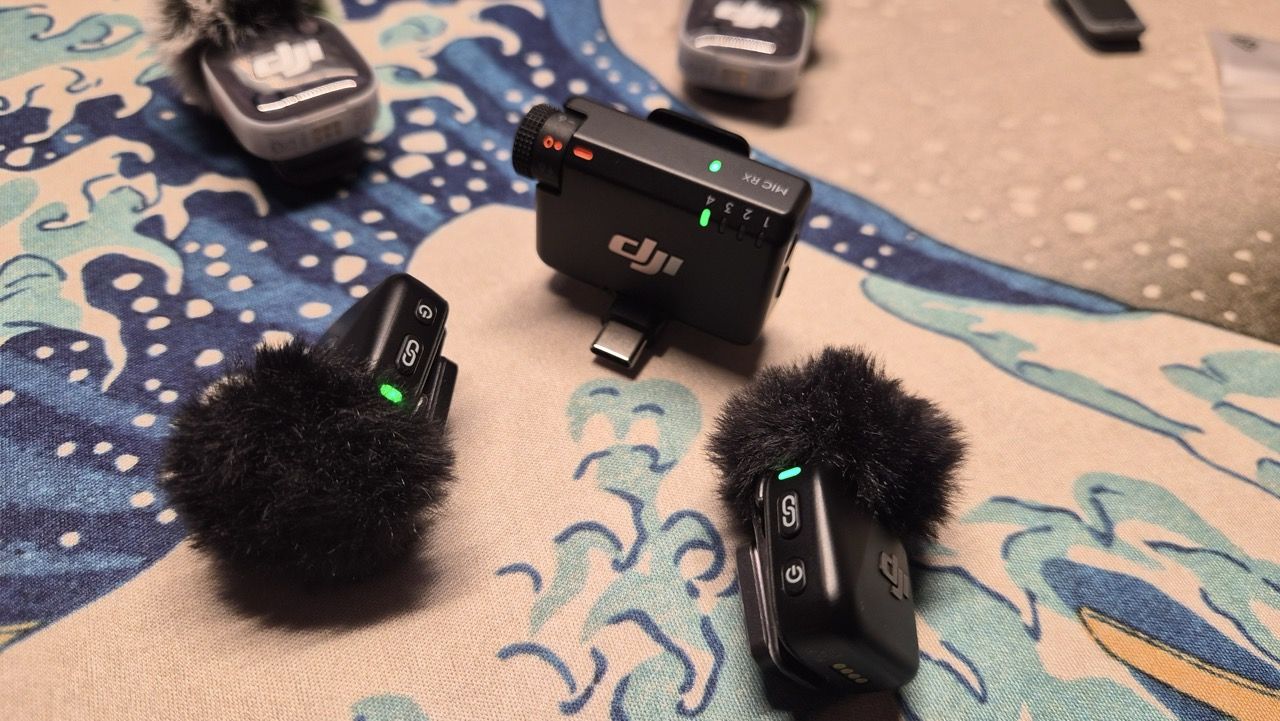
Summary of DJI Mic Mini 2S Pairing (Sync) Methods by Model
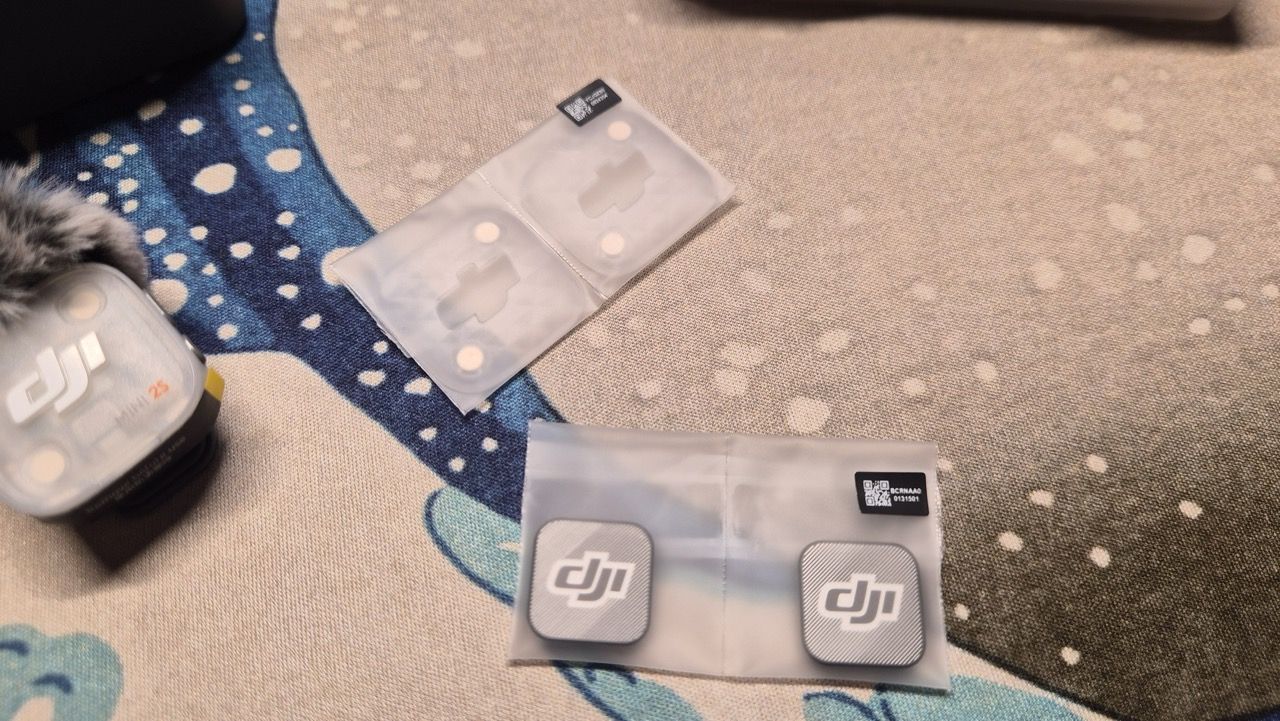
1. Default 2S Set Sync: Upon unboxing, remove protective film stickers under the 2S transmitters and dock both transmitters and receiver into the charging case. Mics #1 and #2 will automatically pair.
2. Additional Mic 2 Transmitter Sync: Mic 2 transmitters can also be auto-synced by docking them into the charging case.
3. 1st Gen Mic Mini Sync: 1st Gen models do not auto-sync via case docking. Instead, press and hold the sync buttons on both the transmitter and receiver simultaneously until the LEDs flash to complete manual pairing.
DJI Mic Mini 2S Specs & Upgrade Summary
| Feature | 1st Gen DJI Mic Mini | DJI Mic Mini 2S (New) |
|---|---|---|
| Receiving Channels | Up to 2 Channels (2 TX) | Up to 4 Channels (4 TX Simultaneous) |
| Receiver Indicators | 2 LEDs | 4 Independent LED Indicators |
| Custom Plate | Fixed Design | Interchangeable Color Front Plates |
| Magnet & Mount | Basic Magnet Clip | Enlarged Size & Stronger Magnets |
| Mobile Receiver Storage | Stored Separately | Integrated Storage Inside Charging Case |
DJI Mic Mini 2S Purchasing Guide & Links (Global & Korea Local)
For readers considering purchasing the DJI Mic Mini 2S wireless microphone unboxed today, we have organized purchase options for both international buyers and readers residing in South Korea. Select the option that best fits your location!
Next Post Teaser
That concludes our unboxing and comparison review with the 1st Gen model! We hope this detailed guide helps those considering a purchase.
Next Post Teaser:
Next time, we will return with a DJI Osmo Pocket camera & smartphone (iOS/Android) setup guide, alongside a practical test guide on individual 4-channel volume adjustment & smart noise cancellation using the DJI Mimo app. Stay tuned!